
Getting started with Rambox Enterprise
Create your organization, then set up teams, shared workspaces, members and branding in the Rambox console, step by step.
This guide takes you from zero to a working organization. As an example, we set up Acme, with a Sales team whose members all get the same apps. It takes about 15 minutes.
The recommended order is:
- Create your organization.
- Create your teams and their permissions.
- Build each team's shared workspace.
- Invite your members.
- Add your branding, and a payment method before the trial ends.
New to the concepts (teams, sub-teams, shared workspaces)? Read Introducing Rambox Enterprise first.
Step 1: Create your organization
You create an Enterprise account from the Rambox 3 desktop app.
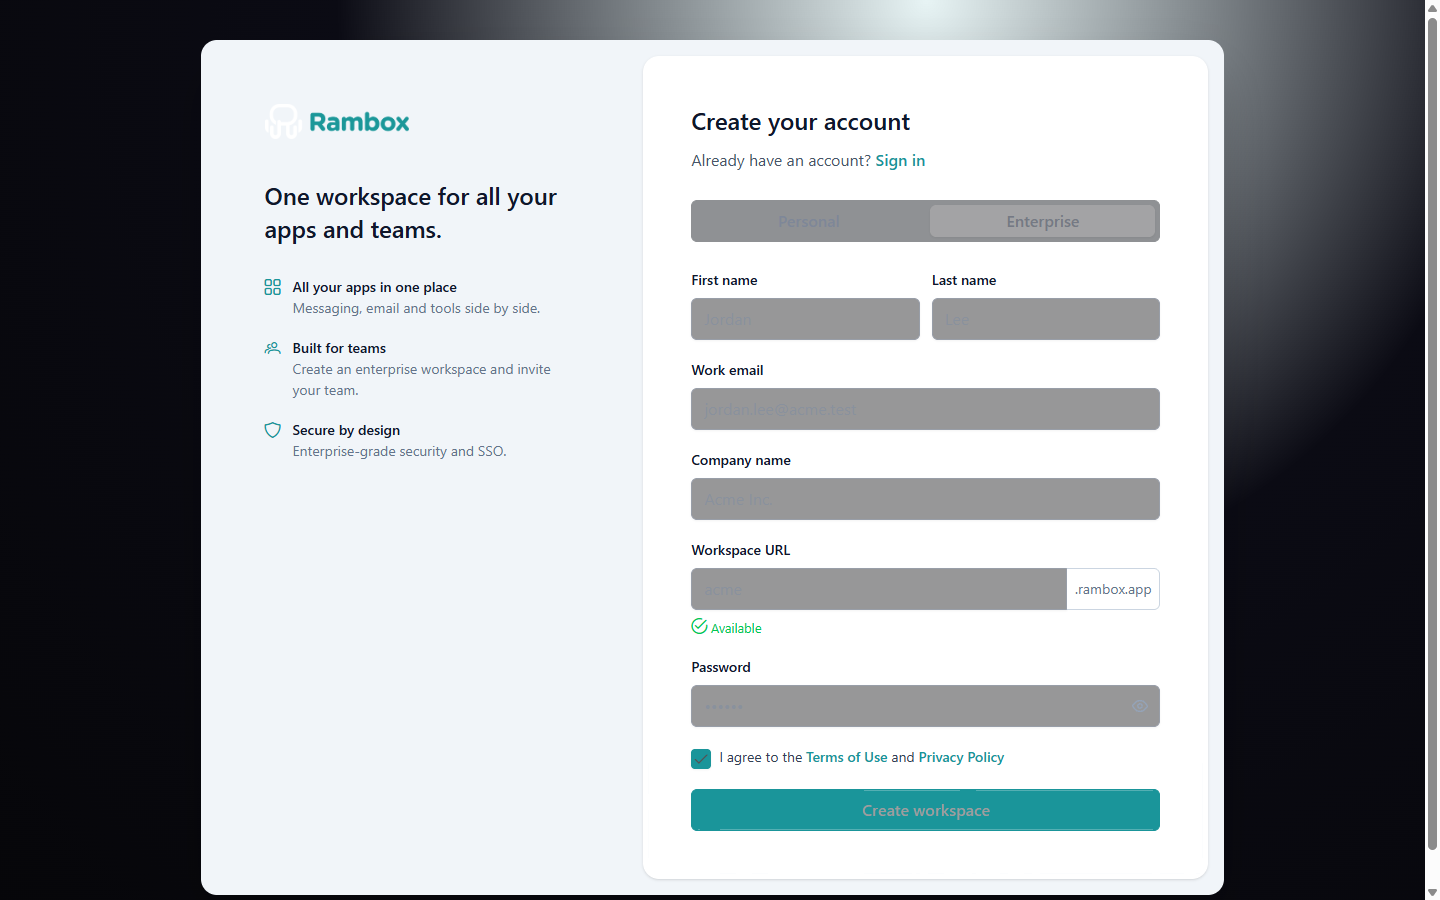
- Install Rambox and open it. On the Sign in screen, click Continue with your browser.
- In the browser page that opens, click create a new account.
- At the top of Create your account, choose Enterprise.
- Fill in First name, Last name, Work email, Company name and Password.
- In Workspace URL, choose your company ID, for example
acme(it becomesacme.rambox.app). Use 4 to 20 lowercase letters, numbers or hyphens, starting with a letter. Rambox tells you right away if it's Available or already taken. - Accept the terms and click Create workspace. Keep the page open: setting up the organization usually takes about a minute.
- Check your inbox and click the verification link. Then click I've verified — continue.
Remember your company ID
The Workspace URL you chose (acme) is your company ID. You and your members type it to sign in. You can always see it as Tenant at the top of My organization in the console.
Enterprise accounts need a work email. Free email providers (like Gmail) and disposable addresses are not accepted.
Your organization starts with a 30-day free trial, with no card required. You are the organization's owner and use the first seat.
Step 2: Open the console
Everything else is done in the web console.
- Go to console.rambox.app.
- On the sign-in page, click Sign in with your company ID, type your company ID and click Continue.
- Sign in with your work email and password.
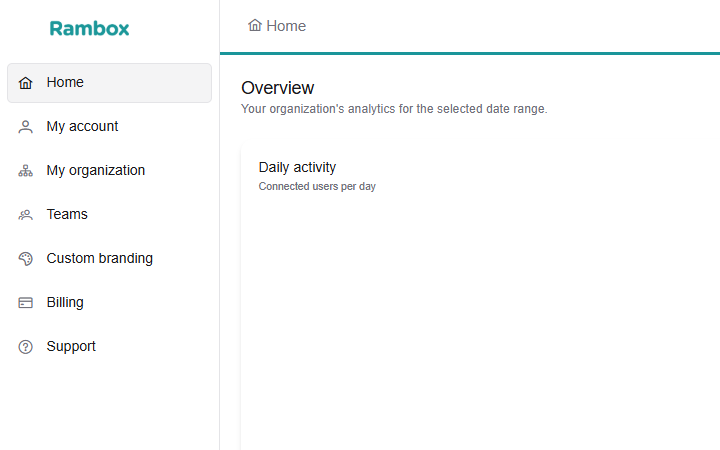
See How to log in to my Enterprise account for details.
Step 3: Create a team
- In the sidebar, click Teams.
- Click New team.
- Type a Name (
Sales) and a Description (Sales department). Both are required. - Under Permissions, choose what members of this team can do. To start, click the Basic preset: members use the apps you give them and can't change anything else.
- Click Create.
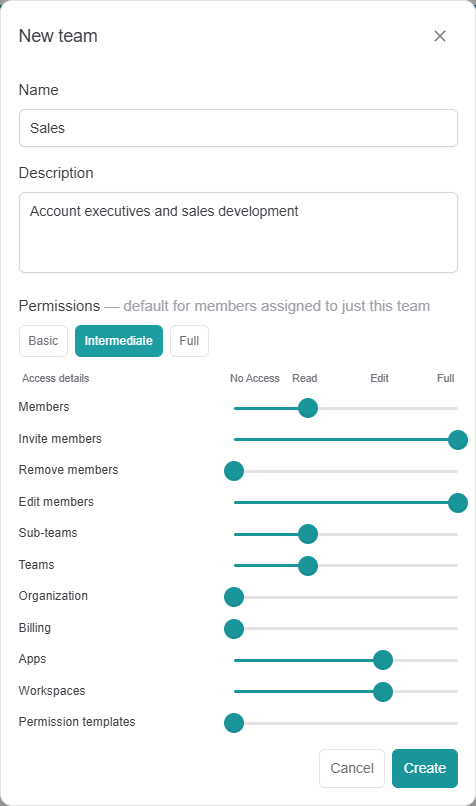
Repeat for every department. If part of a team needs different apps or permissions, add a sub-team. See How to set up a team and its workspaces and Permissions explained.
Step 4: Build the team's shared workspace
A shared workspace is a workspace that appears automatically in the Rambox app of every member of the team.
- In Teams, click the Shared Workspaces button on the Sales row.
- Click Add workspace, type a Name (
Sales tools), pick an Icon and click Create. - On the new workspace, click Add app (the + button).
- Search for an app (for example, Gmail), select it, review its settings and click Create.
- Add any other apps the team needs.
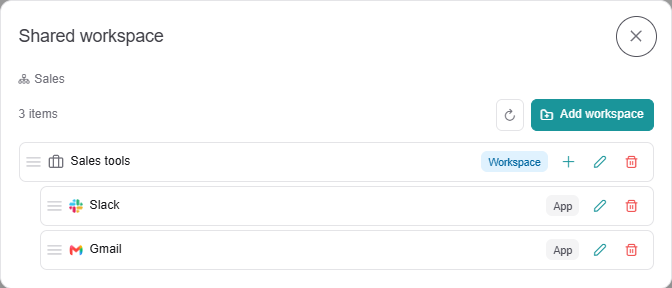
See How to add apps to a shared workspace.
Step 5: Invite your members
- In the sidebar, click My organization. The Members tab opens.
- Click Add member.
- Fill in First name, Last name and Email, and choose the Team (
Sales). - Click Send invitation.
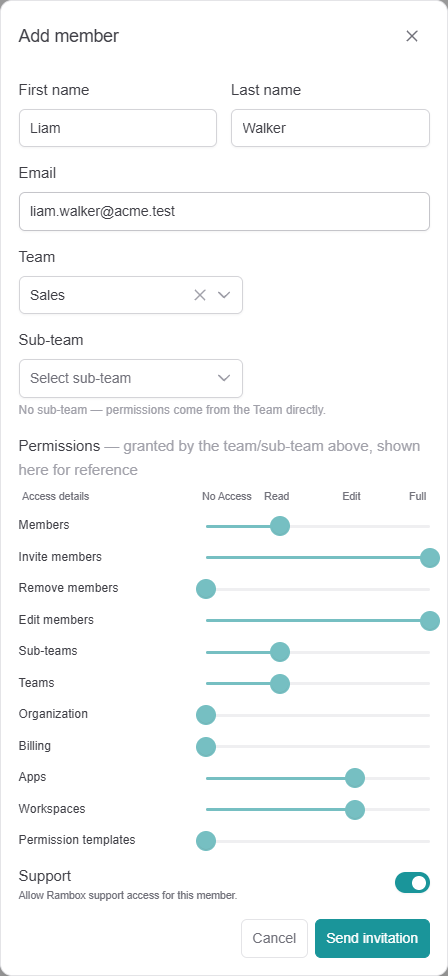
The person receives an email, creates their password, and then signs in to the Rambox app with your company ID. Their shared workspace is already there. See How to add users to your organization and Set up a user from an email invitation.
Step 6: Add your branding
In the sidebar, click Custom branding to add your logo and your company colors to Rambox. See Custom branding.
Step 7: Add a payment method before the trial ends
Don't let the trial end without a card
If the trial ends and there's no payment method on file, your members are signed out of Rambox with a "license is expired" message. Add a card before the trial ends to avoid any interruption.
In the sidebar, click Billing, and under Payment methods click Add. See Subscribing to Rambox Enterprise.